
1
Select the real mouse and wait for its device controls.
Mouse sensitivity guide
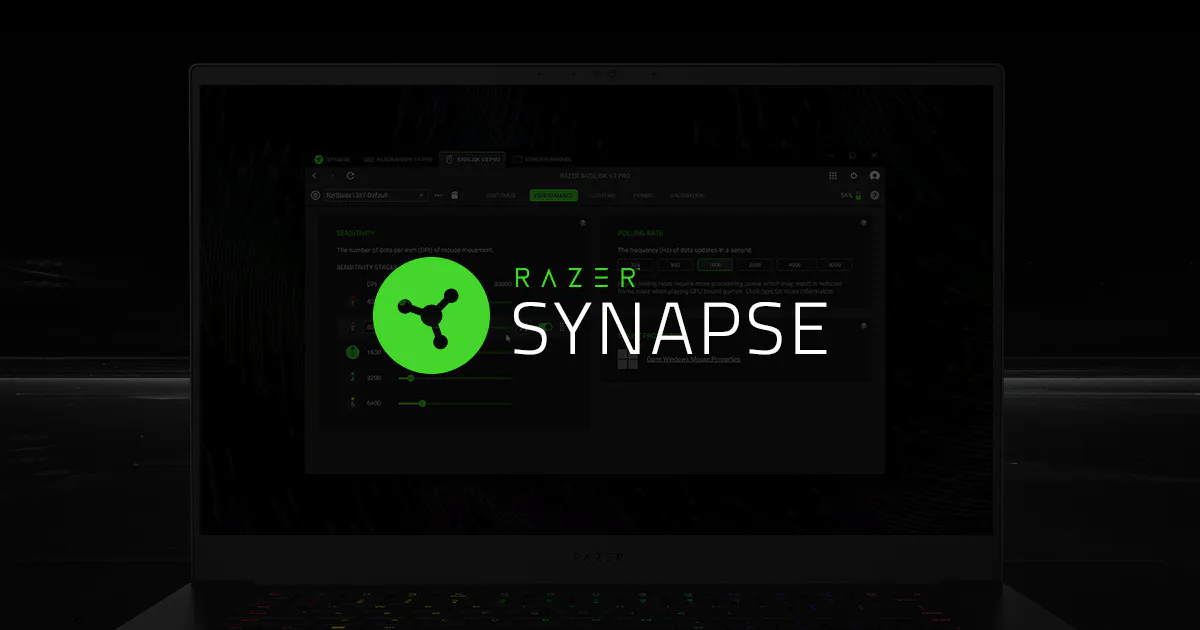
Select your Razer mouse, open Performance, change the Sensitivity stages, save the active profile, and test one stage at a time. This separates DPI from Windows pointer speed, polling rate, and game sensitivity.
This guide covers Synapse 4 first, notes the Synapse 3 boundary, and explains the DPI button and onboard memory. It does not distribute profiles, macros, or unofficial installers.
Quick answer
For most current Razer mice, the clean path is Synapse 4: connect the mouse directly, select its device page, open Performance, edit a Sensitivity stage, and save the profile. Start with one value such as 800 or 1600 DPI, then test it in a plain desktop app before changing several stages. This makes it clear whether the sensor value changed or a different profile became active.
DPI means dots per inch: the number of counts the sensor reports across a physical inch of movement. It is not the same as Windows pointer speed, in-game sensitivity, or polling rate. A higher DPI can move the pointer farther for the same hand motion, but the useful value is the one you can control consistently. Another player's preset is only a starting point.
The Performance screen can show sensitivity stages, a current stage, and a DPI button or clutch assignment. Menus vary with the mouse model and Synapse branch. If a control is missing, confirm the mouse is detected, the correct profile is active, and the device is supported before reinstalling anything.
Step by step
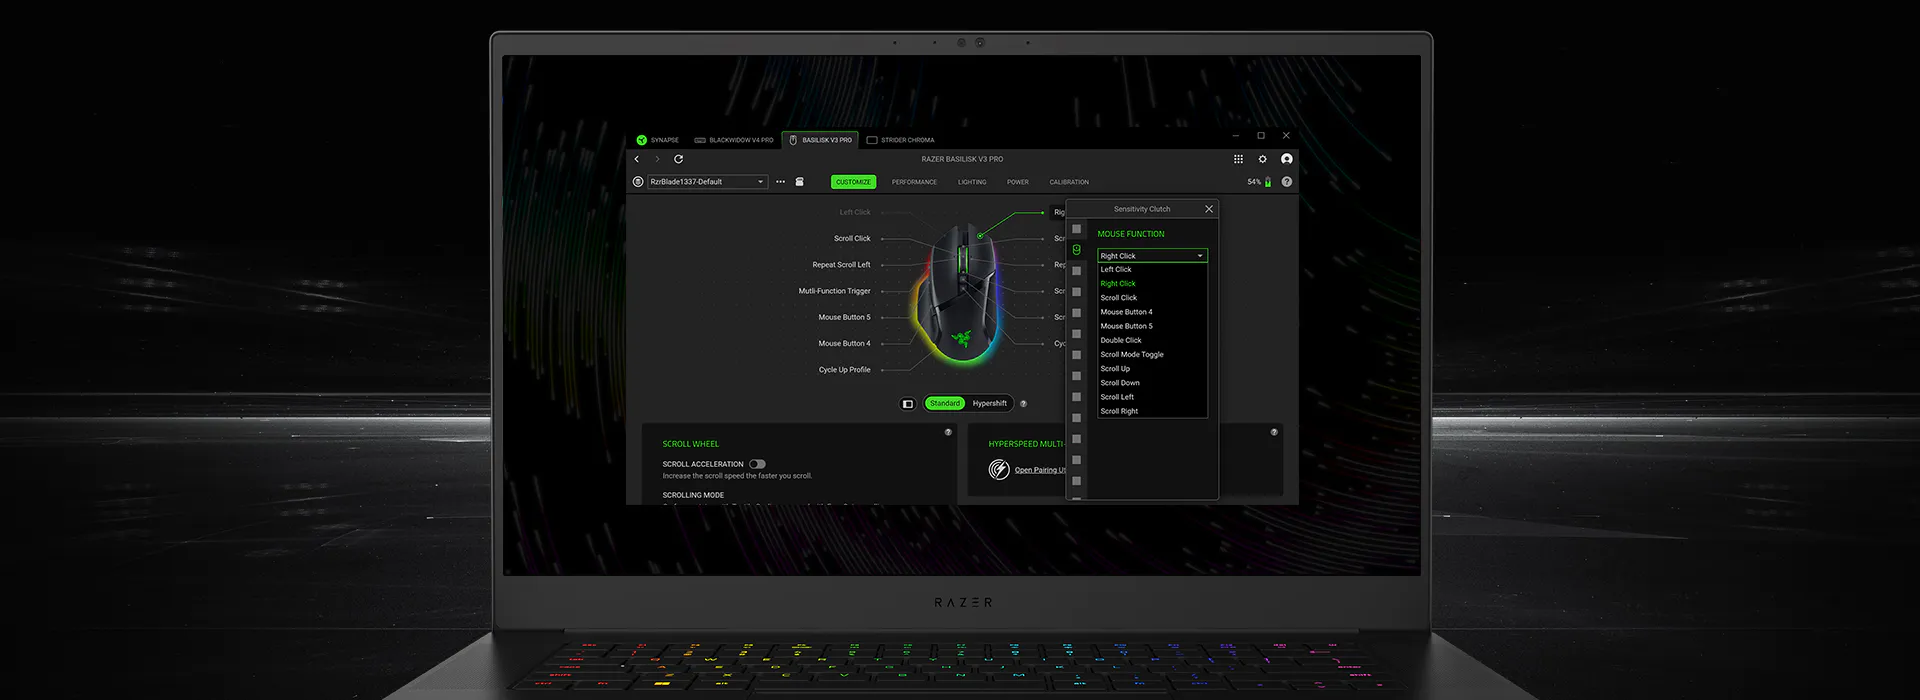
Close extra mouse utilities before editing. Two applications trying to manage the same device can make a value appear to jump back. Connect the mouse through its normal USB cable or receiver, open Synapse 4 from the official installation, and wait until the device page finishes loading. If the device is missing, use the device-detection guide first.
On the mouse page, open Performance and find Sensitivity stages. Change one stage, keep the other stages unchanged for a baseline, and note the active stage. Then save or apply the profile. A profile can be linked to an application, so a game launch may deliberately switch to another set of values; check the profile name before deciding Synapse failed to save.
Test the new value in a text editor, browser, or pointer test page. Move the mouse the same physical distance at the old and new values, then return to Performance and confirm the numeric stage. Only after the value is stable should you change a second stage, polling rate, or game sensitivity.
Select the real mouse and wait for its device controls.
Open Performance and identify the active Sensitivity stage.
Change one value and leave the other stages as a baseline.
Save the profile and check any linked application.
Test in a plain desktop app before the game.
Add another stage only after the first value holds.
Stages and button
Sensitivity stages are useful when they have a job. A low stage can help with careful selection or aiming; a middle stage can be your everyday value; a high stage can help with a large display or quick navigation. The exact values are personal. Name the profile and write down the stage order so a button press is understandable later.
If your mouse has a dedicated DPI button, assign it only after the stages work from Performance. Cycle through the stages slowly and watch the active-stage indicator. Avoid assigning a clutch until you know how to release it; a held clutch can feel like a DPI reset when it is actually an alternate value.
Onboard memory is a separate boundary. Some devices store a small set of values, while other settings remain dependent on Synapse. Do not assume exporting a profile, saving a Chroma effect, and writing onboard memory are the same backup. Record the device model, profile name, stage order, and date.
Save and verify
A DPI value that looks correct on screen is not fully verified until the active profile survives the workflow that matters. Save the profile, close and reopen Synapse, and check the same stage. Then launch the real game executable or application that the profile is linked to. A launcher shortcut can hand off to another process, so test the process that actually runs.
If the value changes after a restart, first compare the profile name and linked executable. Next check whether onboard mode is overriding software settings. Finally check update, device detection, or profile migration state. Reinstalling immediately can remove useful evidence and can put profiles, macros, or lighting settings at risk.
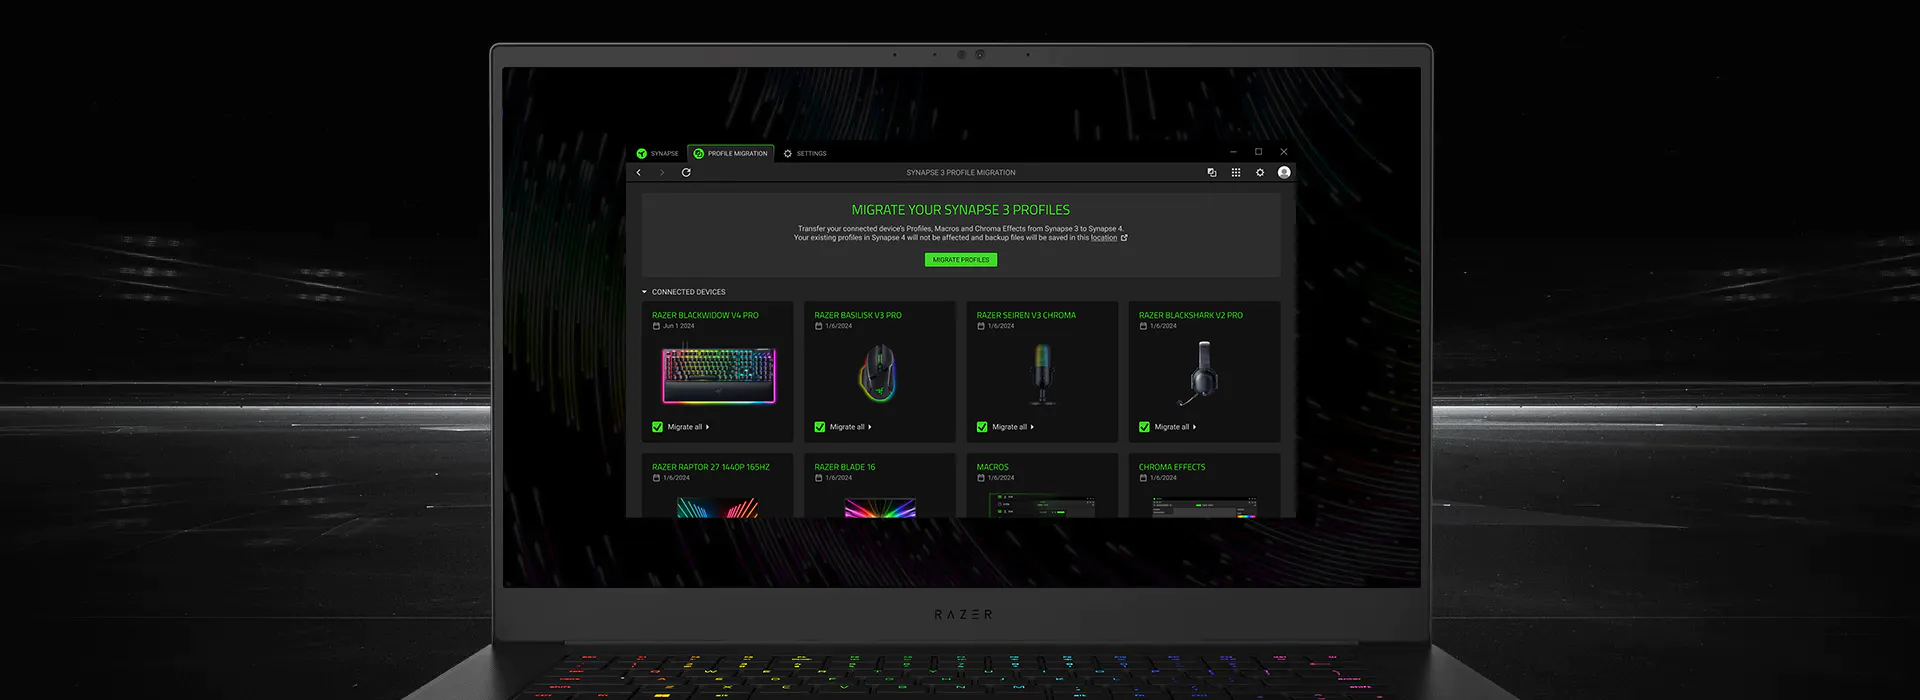
When moving from Synapse 3 to Synapse 4, treat migration as a separate operation. The official migration view lists profiles, macros, and Chroma effects as distinct data types. Confirm the migrated profile, then verify the DPI stages in the new device page instead of assuming every legacy setting came across unchanged.
Troubleshooting
If the mouse is not visible in Synapse, solve detection before sensitivity. Try the supported USB port or receiver path, wait for the device module, and check the current Synapse branch. A missing mouse page is not evidence that a downloaded DPI profile or third-party utility is needed.
If the DPI changes only after a button press, inspect the stage order and button assignment. If it changes after launching a game, inspect the linked executable and active profile. If it changes after Synapse closes, check onboard memory and the model's documented behavior. Keep a single known-good stage while isolating each layer.
Some Razer mice can cycle saved stages without Synapse, but the exact behavior is model-specific. Use the official product or support page for the device, keep Windows pointer speed fixed, and avoid registry scripts or repackaged utilities that claim to unlock hidden DPI values.
Current source facts
The official Razer product page checked on October 18, 2026 still presents Synapse 4 as the current Windows branch and lists Windows 11 x86-64 and Windows 10. The 14 October 2026 Razer Insider release record lists Synapse 4.0.86.2610120714 and Chroma 4.0.63.2610020954. This page links to the official product route instead of a mirror.
The stable CDN installer URL was checked on October 18, 2026. It returned HTTP 200, MIME type application/x-msdownload, and Content-Length 14,923,464 bytes. The file is a direct official URL, but this guide does not claim a checksum or silently replace the product page with a copied download.
DPI help is an informational use case, not a reason to install a macro pack. Unknown XML, EXE, PowerShell scripts, or anti-recoil bundles can be unsafe and can violate a game's rules. Keep the official app, documented device controls, and a small reversible test as your evidence trail.
Official references
The product page, support page, release record, and installer headers were checked before writing the current version note. This site links to official sources instead of hosting an EXE.
FAQ
Open Synapse 4, select the mouse, open Performance, change a Sensitivity stage, save the active profile, and test one stage in a simple desktop app.
Select the mouse and look at Performance or Sensitivity. The active stage and numeric DPI value are shown there; the selected profile matters.
Sometimes. A supported mouse may cycle onboard stages with its DPI button or store a limited set in onboard memory. Use the official device documentation.
Check the active profile, linked executable, onboard-memory mode, and whether Synapse completed an update. Test one profile with automatic switching disabled.
DPI changes sensor counts for physical movement. Polling rate changes how often the device reports to the computer. They affect different parts of the input path.
No. DPI is a mouse or profile setting, while Windows pointer speed is an operating-system setting. Keep Windows speed stable while testing DPI.