
Preserve the working state
Create a new profile instead of editing the only configuration you know works.
Profile guide
Use this practical guide to organize device settings, bind a profile to a game, move from Synapse 3 to Synapse 4, and recover when a profile appears missing.
A Synapse profile is a group of settings for one device or use case. It is not automatically the same as a Chroma lighting effect, an onboard-memory slot, or a downloadable macro pack, so identify what you are moving before you import or migrate anything.
Quick answer
Razer Synapse profiles let you keep different device configurations for different games, work apps, or people. A mouse profile can hold button assignments, sensitivity stages, polling choices, and other supported device settings. A keyboard profile can hold key assignments and device behavior. The exact controls depend on the hardware and the Synapse branch, so two devices do not necessarily expose the same profile fields.
Three nearby features cause most confusion. A Chroma effect controls compatible lighting and may be managed in Chroma Studio. Onboard memory stores only the settings a supported device can carry without the full app. A linked game tells Synapse when to activate a profile. These features can work together, but copying one does not guarantee that the others travel with it.
The safest workflow is simple: give each useful profile a descriptive name, link it only after its settings work, keep a note or screenshot of critical assignments, and use Razer's migration tool when moving from Synapse 3 to Synapse 4. Do not treat an unknown downloaded profile as a complete backup of your setup.
Daily workflow
Open Synapse, select the device, and find the profile selector near the device controls. Create a new profile before changing a working setup. Name it for the job it performs, such as Apex Legends - low DPI, Photoshop shortcuts, or Shared PC - default. A useful name is more reliable than Profile 2 when you later troubleshoot automatic switching.
Change one group of settings at a time and test it before adding more. For a mouse, verify the normal click assignments and sensitivity before building a Hypershift layer. For a keyboard, test the base keymap before attaching macros. This sequence gives you a known-good point and makes it easier to identify the change that caused an unexpected input.
To bind a profile, use the linked-games or application association control shown for your Synapse version. Select the actual executable that runs during play, not only a launcher shortcut. Start the game, return to Synapse, and confirm the expected profile is active. If the game updates into a new folder or uses a different executable for anti-cheat or 64-bit mode, recreate the link rather than rebuilding the whole profile.
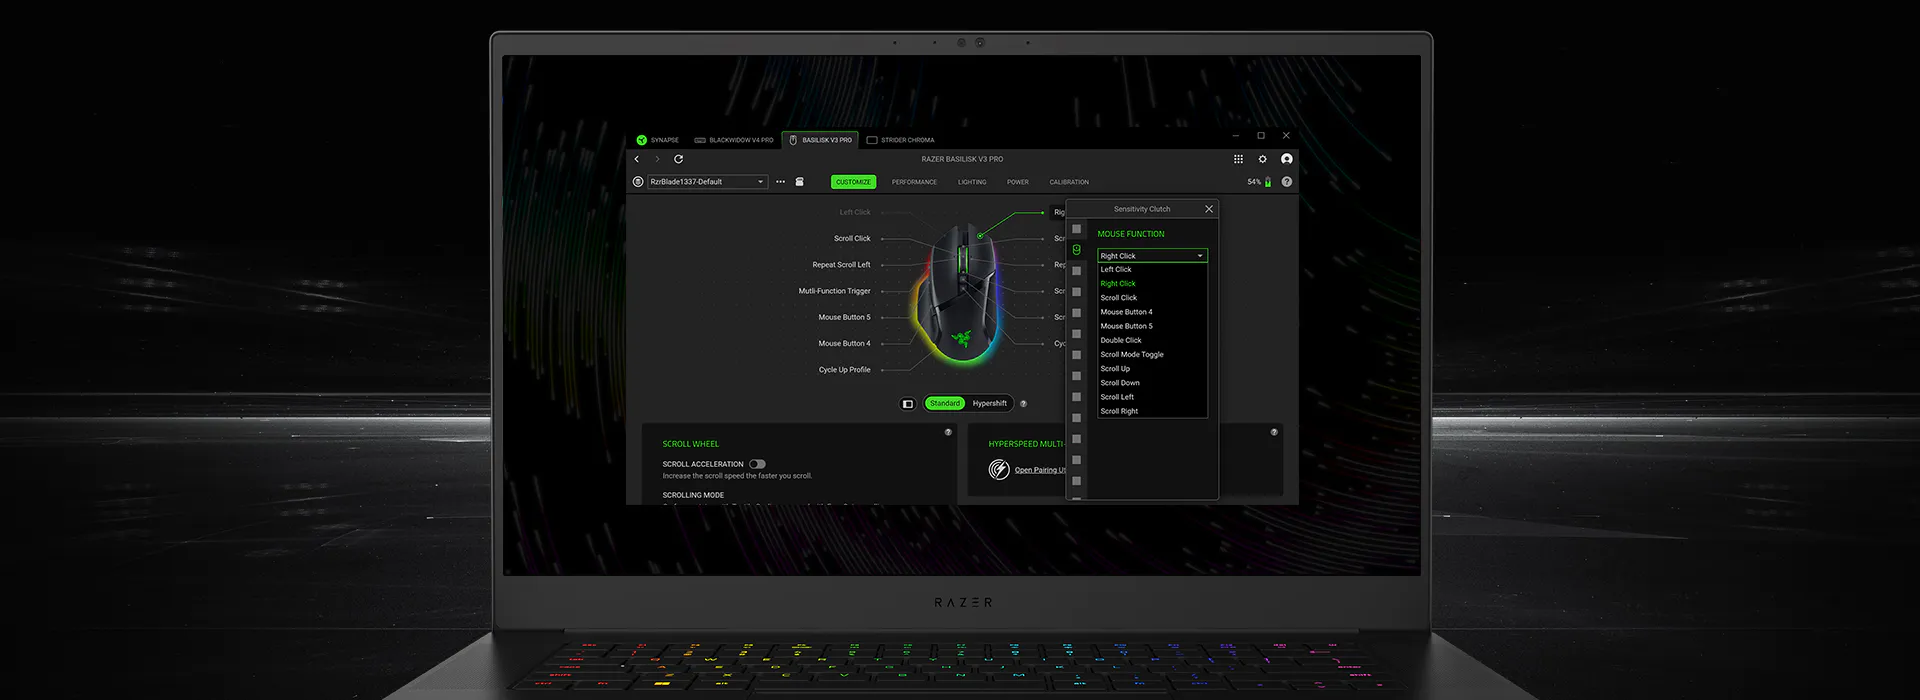
Create a new profile instead of editing the only configuration you know works.
Include the game, task, device role, or sensitivity purpose in the profile name.
Verify clicks, keys, sensitivity, audio, or lighting before adding complex layers.
Choose the program file that remains active, not a store or launcher shortcut.
Launch the app, return to Synapse, and confirm the intended profile became active.
Backup boundaries
The word backup can mean several different things in Synapse. Some versions and modules offer profile import or export controls, while cloud synchronization, device onboard memory, Chroma Studio effects, and macros can follow separate rules. Before relying on one file, inspect what the export dialog says it contains and test the result with a nonessential profile.
Keep a small manual record for settings that would be painful to recreate: DPI values, polling rate, button map, Hypershift assignments, game executable path, key remaps, macro names, and the Chroma effect used. Screenshots are useful evidence, but they are not importable backups. Store exported files in a folder named with the device, Synapse branch, and date so a Synapse 3 file is not mistaken for a Synapse 4 restore point.
Only import files from a source you understand. A community Chroma effect can be useful visual content, but it should not be presented as an official Razer file or as a complete device profile. Avoid profile bundles that include EXE installers, scripts, password-protected archives, or instructions to disable security tools. Razer Synapse profiles do not need a mystery installer.
Official migration
Razer's current Synapse 4 product pages describe a Profile Migration tool for moving Synapse 3 profiles, macros, and Chroma effects. The tool automatically detects eligible Synapse 3 data and lets you choose which profiles to migrate. Use that supported path before attempting to copy application folders or edit configuration files by hand.
Start by opening Synapse 3 and recording the profiles that matter. Close games and save current work. Install or open Synapse 4 from the official Razer source, choose Profile Migration, review the detected devices and data types, and migrate a small important set first. After migration, test every device profile because a setting can be unsupported, renamed, or implemented differently in the newer branch.
Do not assume migration is a reversible version switch. Razer states that Synapse 3 cloud services ended on February 3, 2026, and Synapse 4 is the current direction. Keep your manual record until the new profiles work. If a legacy device is not supported, use Razer's device-support information instead of forcing a Synapse 3 profile into an incompatible device page.
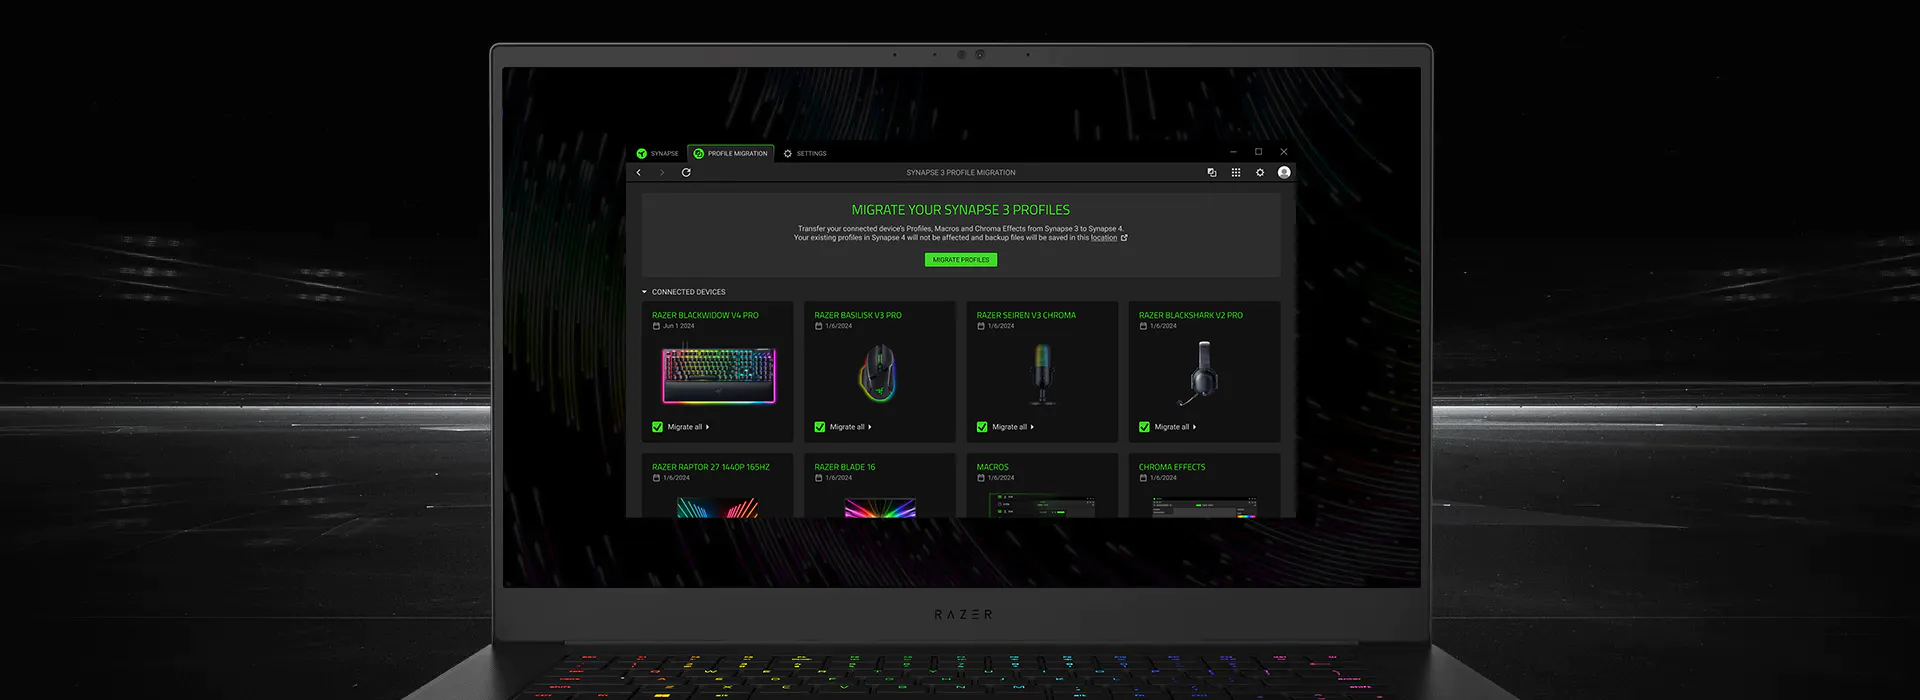
Record profile names, devices, critical assignments, macros, and Chroma effects in Synapse 3.
Open Synapse 4 from Razer's product page or stable official installer route.
Review detected devices and select only the profiles and data you actually need.
Verify buttons, sensitivity, keys, macros, lighting, and automatic switching.
Do not discard your settings notes until normal use confirms the migration.
Troubleshooting
When a profile looks missing, first confirm the device and Synapse branch. A profile created for one mouse will not appear as the active profile for a different mouse, and Synapse 3 data does not automatically prove that Synapse 4 migration finished. Check the profile selector, then reconnect the device directly to the PC and allow its device page to load.
For automatic switching failures, remove and recreate the application link with the current executable. Confirm that the game is actually running that file in Task Manager. Launcher updates, Microsoft Store paths, game editions, anti-cheat processes, and separate 32-bit or 64-bit executables can all change the match. Test manual switching before blaming the profile itself.
If all profiles appear reset, stop editing and restart Synapse once. Check the signed-in account, network state, Razer App Engine, and whether another Windows user is active. Then use Synapse repair guidance. Reinstall only after ordinary checks fail, and use the verified Razer installer rather than a profile download site. A clean reinstall can remove local state, so document critical assignments before removal.
Verified sources
This site has software-download intent, so version and source freshness were checked before adding this guide. On July 29, 2026, Razer's Synapse 4 product page and localized product pages returned HTTP 200 and described profile migration as a current feature. The official Windows file remained RazerSynapseInstaller.exe on dl.razerzone.com; HEAD verification returned HTTP 200, application/x-msdownload, 14,919,368 bytes, and a May 25, 2026 Last-Modified value.
Razer did not expose a dependable public semantic build number or checksum on the product page. This page therefore does not invent a latest-version number or claim that a profile file is officially verified when it is not. The download CTA uses the official product page as a source fallback, while the site's dedicated Synapse 4 page records the verified stable installer path.
All three visuals on this page are compressed WebP copies of media served by Razer's official Synapse 4 product page: the product hero, device configuration view, and Profile Migration screen. They are used to explain the adjacent steps and are identified as official Razer media, not screenshots created by this independent site.
Official references
These Razer-owned pages support the current branch, migration workflow, legacy status, and download-source facts used in this guide.
FAQ
Open the supported device in Synapse, create a new profile from its profile selector, name it for the task, configure and test the base controls, then switch manually or link it to the current application executable.
Use the import or export control shown by your Synapse version and module, but also record critical assignments. Device profiles, macros, Chroma effects, onboard memory, and cloud data may not follow one identical backup path.
Razer's Synapse 4 product page describes a Profile Migration tool that detects eligible Synapse 3 profiles, macros, and Chroma effects. Review the detected items, migrate a small set first, and test every device afterward.
The saved executable path may be stale or may point to a launcher instead of the running game. Confirm the active process in Task Manager, recreate the link, and verify that manual switching works.
No. A Chroma profile or effect mainly describes lighting, while a device profile can hold buttons, keys, sensitivity, audio, and other hardware settings. Do not use bundles that require an unknown EXE or disabled security tools.